I am planning on taking rub markings of different types of suffuses of walls floors doors stairs some one shoe and using a A3 scanner to scan in my work then add them my blog and adapt why I have chosen this as my main capture and how i will come around doing this technique to improve my method of capture
Materials needs: pencil, crayons, pastels, berol colouring pen,
Paper A4 sheets for each marking i make with the different style of pencil or pen
Tuesday, 15 February 2011
Monday, 14 February 2011
catch phrase - group work
Been given a group to create a flash animation or a still image in photo shop, We are making our in flash we are making a grandfather clock and a needle, in my team the communication is better than last time,
Billy is working on the flash animation for what we are creating James gave an idea and we all adapted to it.
The meaning for our catch phrase is work now saves time later,
the grandfather clock is time the CD is saving the time and needle as the hand of the clock
Saying: "A stitch in time saves 9"
work now saves time.....
This exercise was a vision task to see what ideas we could create with a saying
my name in meaning

i went on google.com and research my name in the search bar and then read up on what it meant man defender so i researched man's best friend dog/ wolf and because it is a Russian name I thought of the best thing Russia is best known for which is Vodka
then added it all in to photo shop made some peak changes add some big bold text, font and colour and it worked for me.
Tuesday, 8 February 2011
demo

this demo was very easy to follow

copy back ground layer rename it, then we did #d setting via windows after we did this part added some text in to the layer changed the size and font,
merge the two 3D layers together,
added some lighting to the text, positioned the light in to place with the text,
messed around the setting for rendering and lighting the got it correct and accurate
levelled up the wording the and gradient background together.
everything came together and worked out very nicely it was a easy following demo for me but I wouldn't mind a demo up on moodle to retry it out for myself
Monday, 7 February 2011
Egg drop
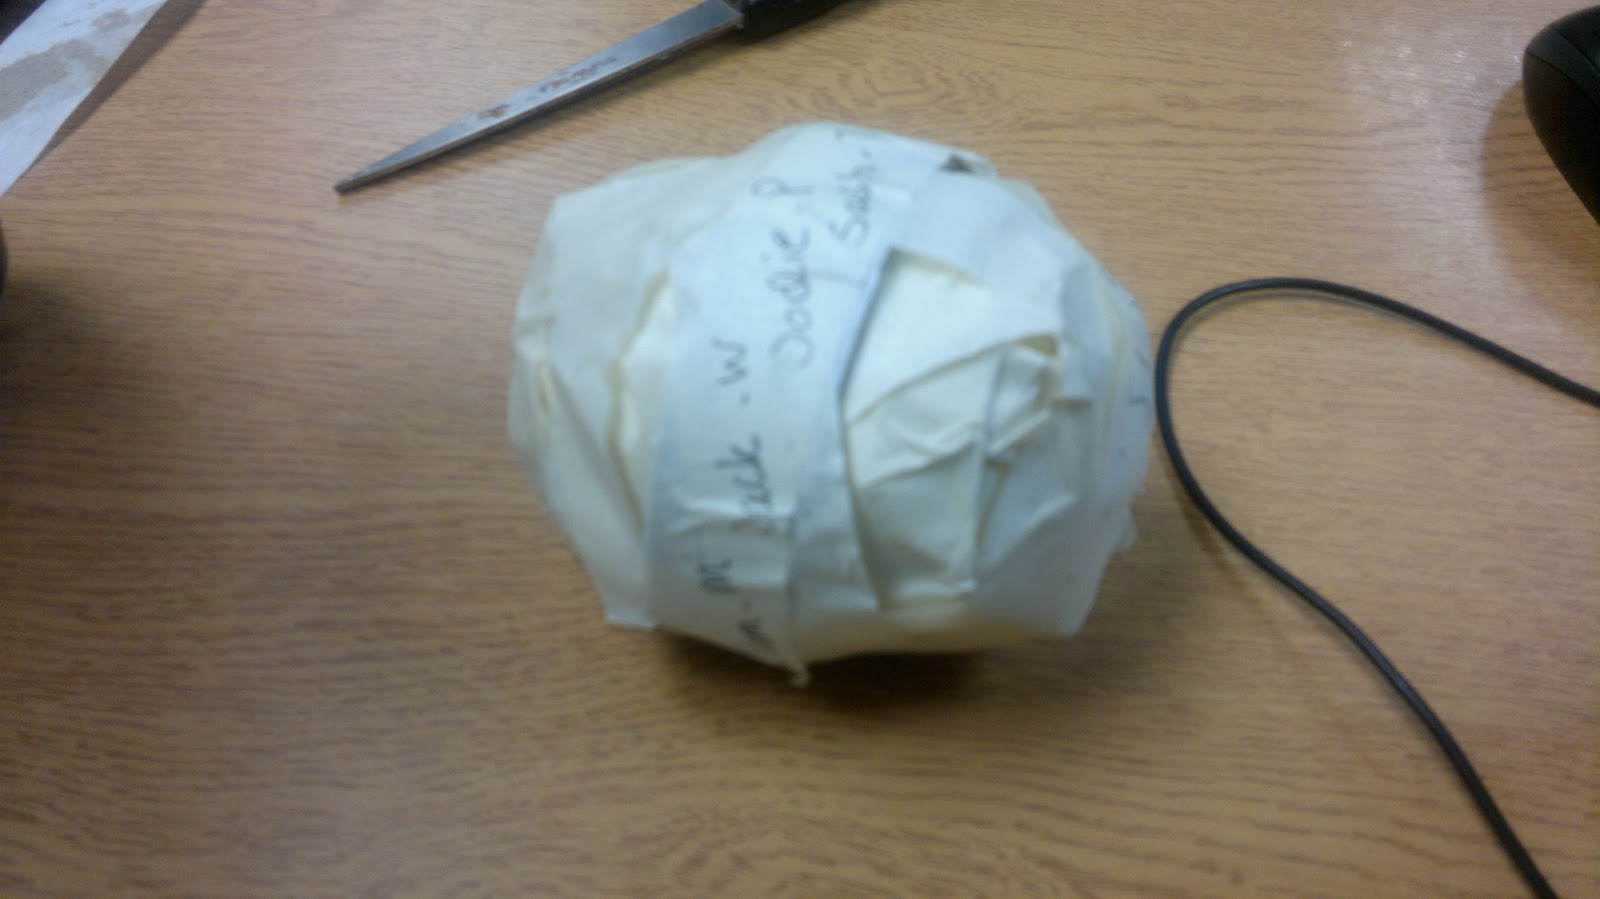 The task was to design a protection for an egg to drop some suiten height we only had masking tape and straws, My team design was wrapping straws and masking tape around the egg and then we added the inner ring of cardboard of the masking tape around the layers of masking tape. After trying it every one's egg bounced and sounded broken then after we had finished the experiment we unwrapped them and every one's was broken,
This is my team egg before we put this dropping to the test, and after we had finished discussing this theory, that we came up with, we done one sketch of what we were going to do and mainly discuss it as a group effort to try and get this idea to work. I reckon it did until the third or fourth time then it was broken.
I would modify in my design I would of change the entire design to protect the egg instead of careless effort which sort of worked
The group of people I worked with was brilliant they had a lot of ideas no disagreements at all, It was a better group than what I had last time.
Wednesday, 2 February 2011
Methods of capture
Methods of capture
Hand drawings
I will be using my own creative style to recreate the characters of Disney
A3 scanner
Using the A3 scanner to scan them in to my computer save them to local D drive
Audio and sound
I will be downloading the sounds of the characters and magical noise’s to my website design when your click on another link on the website
Photoshop
Photoshop will be used to help me edit the characters and change their colours of outfits and shall be bitmap drawings
Characters
I will be using Minnie, Mickey, Goofy, Donald, Pluto and Daisy
Materials used
I will be using A4 paper white, HB pencil for the outlines of the characters, B4 or B3 for the shading.
I will also be using flash to make buttons for my website to go to different pages of my site,
Time line of drawing


Reference: http://www.google.co.uk/#hl=en&tbs=tl:1&q=archbishop%20of%20canterbury&sa=X&ei=bjdJTemgDoSJhQe10a2oDg&ved=0CCYQ0AEwAA&fp=a82edcca5fe7b587
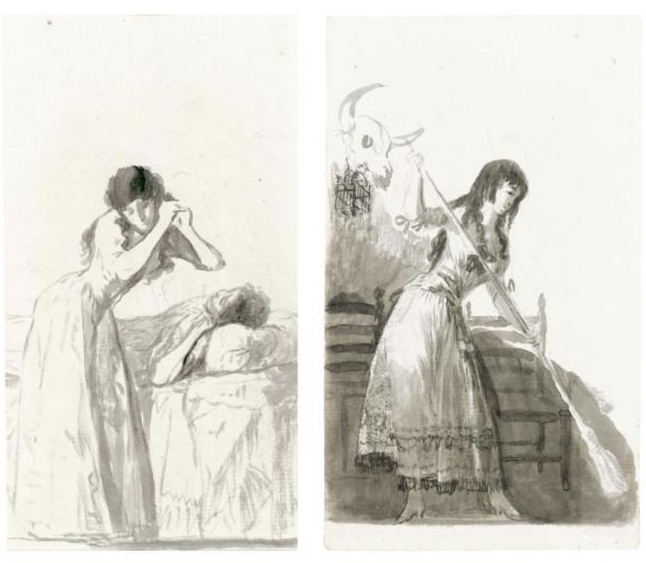 1800 Was one the most popular for portrait paintings and sketches of other humans before the first camera was invented.
 Aspects of Drawing
Drawing is typically different from painting as the usage of colours or paints is minimal in case of drawing. It stresses more on the defined lines on the surface. Drawing includes use of different media which may be dry or water-based like graphite, charcoal, marker or pen and ink. Even watercolour pencils may be first applied like normal pencil and then moistened with wet brushes to get different effects. Drawing is mainly done on paper which varies in colour, texture, acidity, size, quality and strength to absorb water. There are various processes and mediums which add an extra appeal to simple drawings.
reference:http://www.ethnicpaintings.com/drawing/famous-drawing-artists.html To find more drawing/ portrait artist to research and reference for my drawing time line.
Tuesday, 1 February 2011
learning to use 3D
we have done two demo's on making 3D with typography on the macs and using our normal computers to learn to make 3D for images label two layers red and blue for the red layer adjustments curves blue input 0 and output 251 blue layer adjustments curves red input 0 and input 251
then put one on top of the other,
then put one on top of the other,
Subscribe to:
Posts (Atom)